Its cold outside, setup FreeBSD on a Thinkpad with me
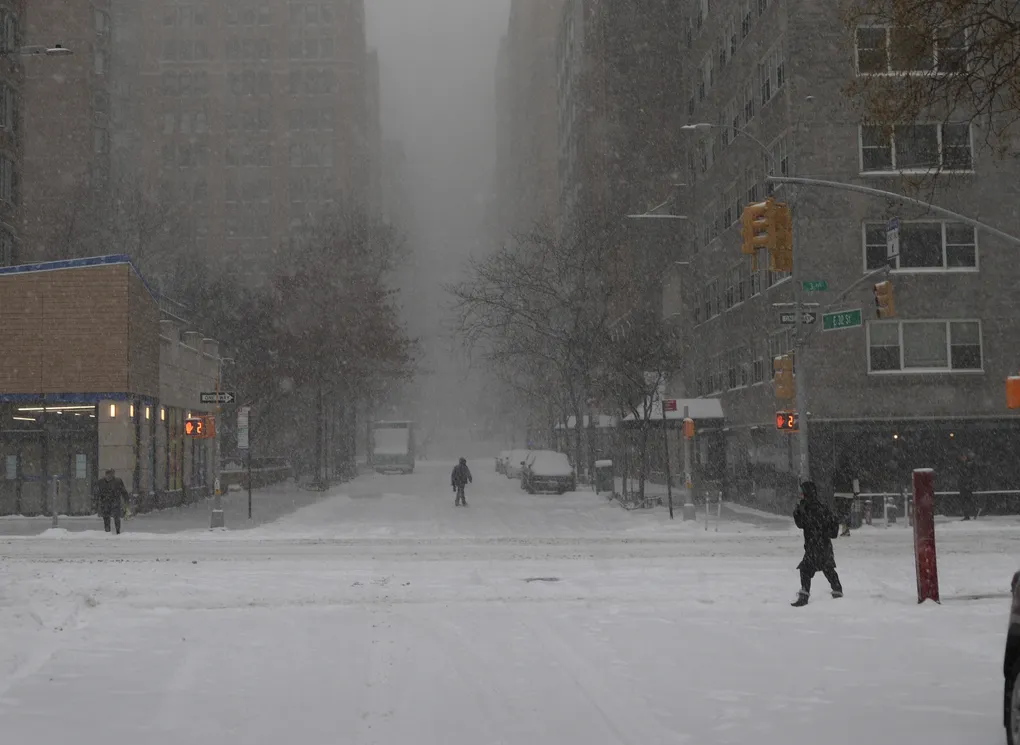
Today in NYC had a lot of snow.
After playing around in the snow a little bit, its time to get to today’s planned activity:
Installing FreeBSD on my upgraded thinkpad T440p, I got a matching one for my friend and I a while ago off ebay
I went with these because they were one of the last Thinkpads to still have all the great qualities of a Thinkpad.
Specifically the T440p allowed you to upgrade its SOCKETED processor.
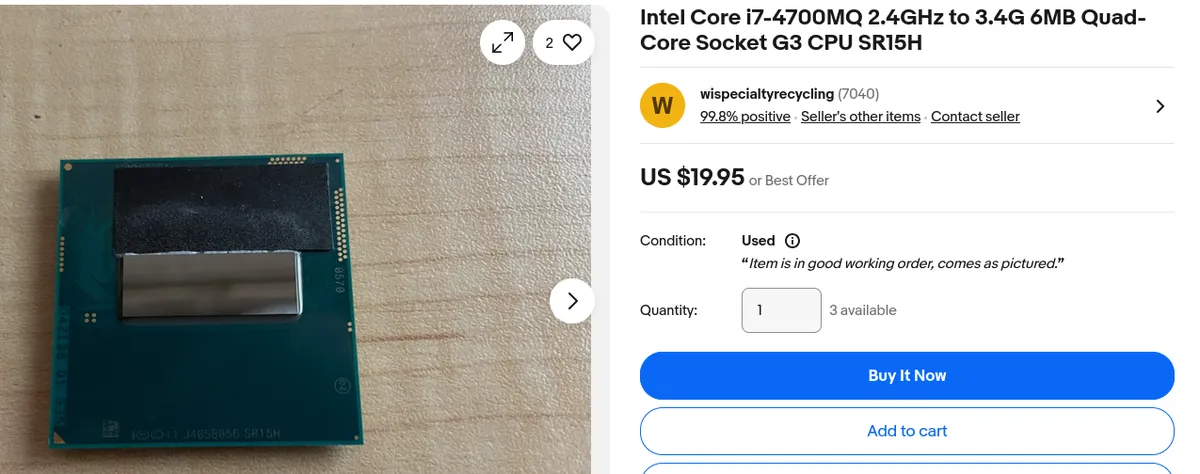
I upgraded both to the Intel i7-4700MQ, which is …pretty phenomenal

You can find this CPU for as low as $20 dollars on ebay:
Why am I installing FreeBSD?
The only reason is that I like scratching my itches. I have heard about BSD and free BSD for so long and always wondered, huh whats that and how is it different from Linux?
I plan to deep dive into the actual differences in another post, but for today I wanted to install it for the first time. See if I could get it working with my existing Linux knowledge, and prepare for the new ThinkPad I had just ordered…the X60. A tiny 32bit machine. Off the bat I know I will have some compatability issues because FreeBSD dropped support for 32bit in FreeBSD 15, but it is still supported fine by 14. So I will need to see if there are any differences there.
What are my goals?
- Super fast and minimal environment, something that will run well on the hardware to let me do all the things I do on my other computers minus the video and web development.
- Learn FreeBSD, understand its differences with Linux.
- Bring life into an older computer and actually use it productively.
- Get to work on an amazing keyboard :)
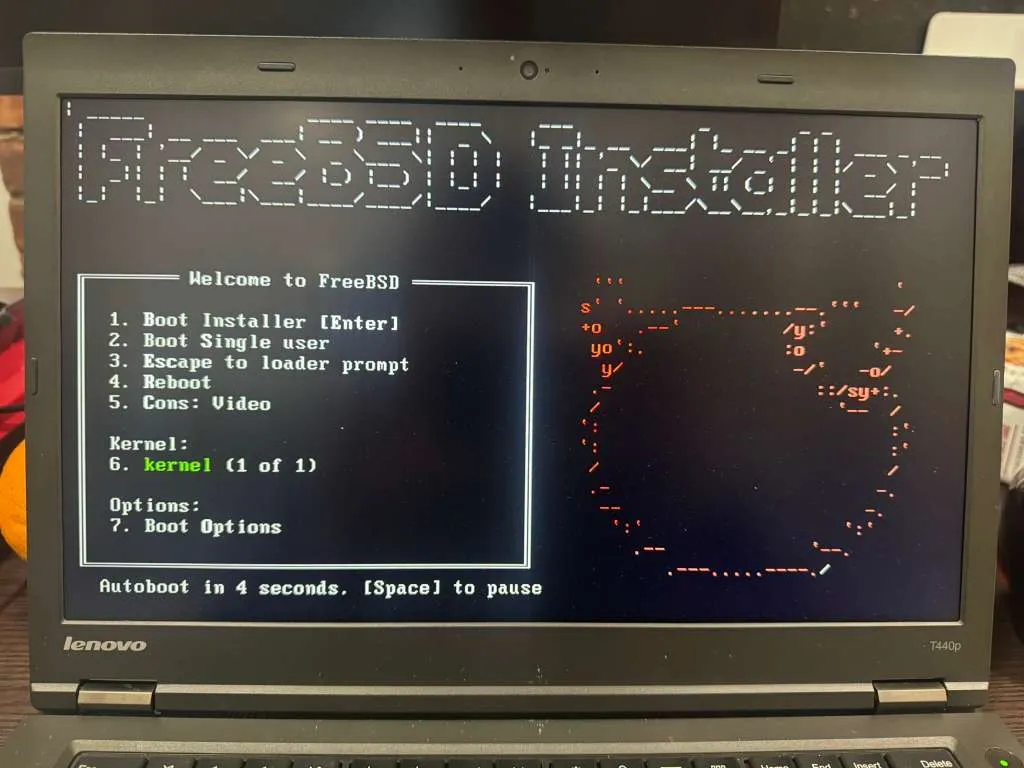
Installation
Installing is pretty simple, just download the ISO from the official site, burn to a USB drive and boot up.
Not only is it super intuitive to install, but I would argue that it was even simpler than archinstall.
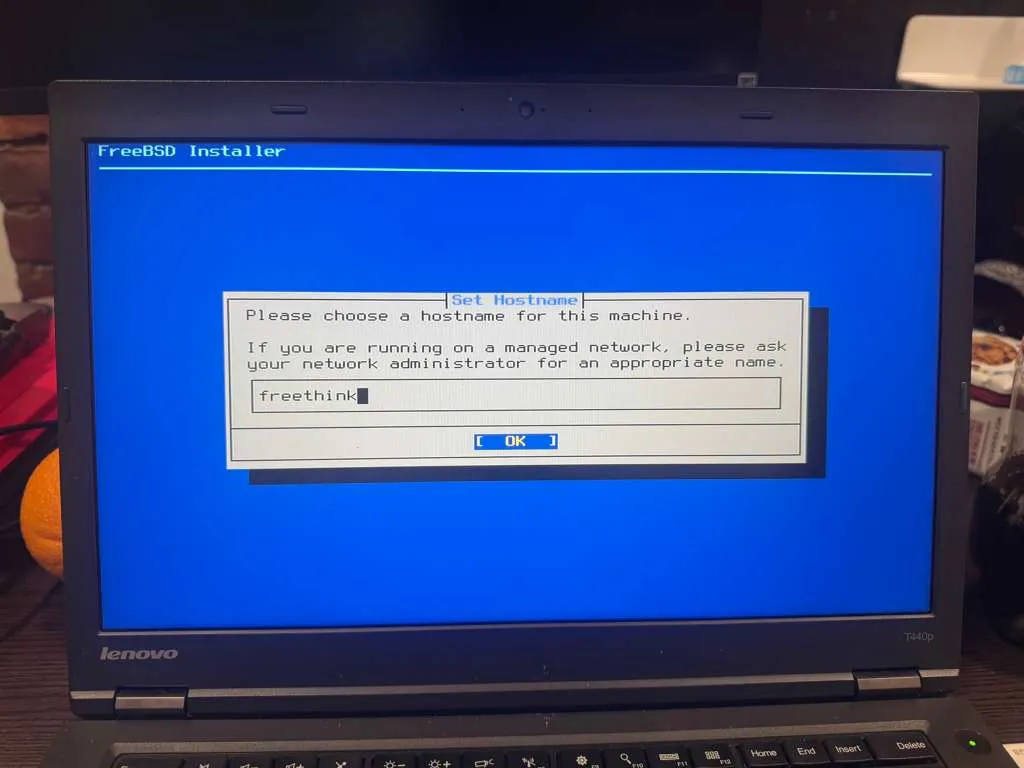
Hostname
Literally not important at all but I loved the name freethink, will probably also use that on the X60 when it arrives.
To my surprise, it let me configure WIFI directly in the installer.
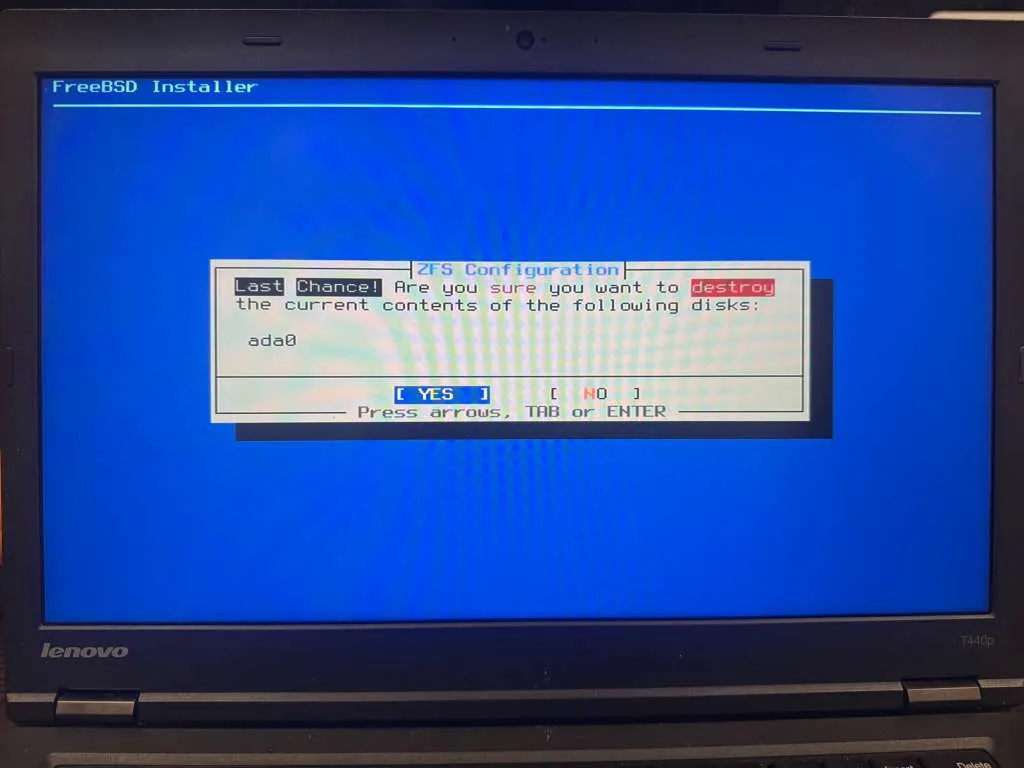
For partitioning for now I just went with auto ZFS.
Normally the destroy screen it is my favorite because it means the installation is coming to an end
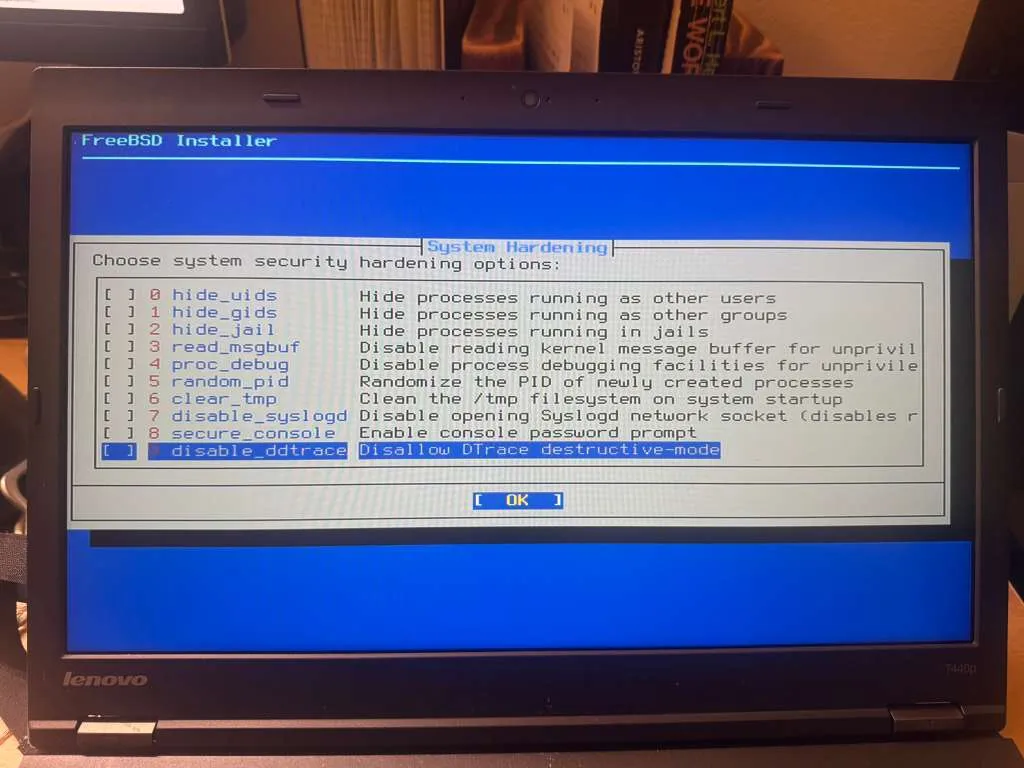
It was interesting to see they have some system hardening options during the install. I know a powerful features of FreeBSD/Open is the jails, but would be very interested to learn about these other features.
All my web servers for everything I do have been running Ubuntu, if FreeBSD ends up having enough compatibilities I may make it my main Server OS going forward.
For that I would need to install
- Cerbot
- Nginx
- Node
- Docker or some other solution to run databases
I think that will be another blog post though.
Would highly reccomend this resource: Reddit Thread for Wifi Setup
Making it my own
After I had the WIFI setup, which was honestly much easier than expected, I wanted to start making the system my own. As of now the system is just a terminal, I need a UI.
I had heard of this super minimal and easily customized window manager called sxwm: https://github.com/uint23/sxwm
This video from Mental Outlaw was really helpful, shout out to Kenny for one of the most interesting and diverse YouTube channels: SXWM - Mental Outlaw
I would also really recommend checking out his learning Linux video, if I had followed that when I was starting I would be much further ahead.
Dependency Issues
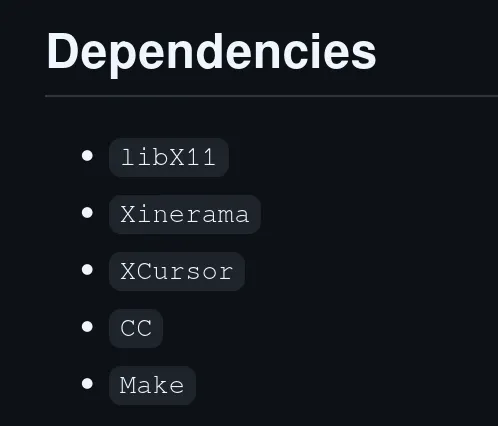
According to the SXWM github, this is the command to install dependencies on FreeBSD:
Which can be installed with:
# If you use doas or su instead of sudo, modify the following commands accordingly.
sudo pkg update
sudo pkg install gcc gmake libX11 libXinerama
I THINK that you also need to install xorg but am not 100% sure, I had installed it just incase when I tried to resolve the following issues
But when I tried to run the make command, I kept hitting a dependcy error.
After some time of banging my head against the wall and finding that the files actually do exists, I was able to fix it by manually updating the make file to point to /usr/local whenever it tried pointing elsewhere Nope, but turns out the makefile was just pointing to the wrong location, had to update that to /usr/local instead of
Which was just in the top
# flags
CPPFLAGS = -D_DEFAULT_SOURCE -D_XOPEN_SOURCE=700
CFLAGS = -std=c99 -pedantic -Wall -Wextra -Os ${CPPFLAGS} -fdiagnostics-color=always -I/usr/X11R6/include
LDFLAGS = ${LIBS} -L/usr/X11R6/lib
And just had replace X11R6 with local in CFLAGS and LDFLAGS.
Then sudo make install worked without issue.
After SXWM was installed, I added it to .xinitrc
echo 'exec sxwm' > ~/.xinitrc and running
startxWould then start my new desktop environment!
But I soon realized I didn’t have an application launcher so I was stuck in a black screen with my mouse.
CTRL+ALT+F1 lets you exit to terminal, and then I installed dmenu as my application launcher. dmenu was also the default one configured in SXWM so I was able to use the SUPER + P keybind right away to start launching applications.
Then launched xterm to isntall firefox and konsole
also I want a top bar, so lets use sxbar, which is made by the same guy who made SXWM, its not as well documented, but just works and is super simple. Had to also update the Makefile in the same way to get it working.
Also for some reason the config was not copied over for either, so I just had to manually copy it over to ~/.config/sxwmrc
Adding some software
Next I wanted to install QOwnNotes (My note and writing software), and syncthing to sync
sudo pkg install qownnotes syncthingA few notes:
- dmenu launcher is caps sensitive, so QOwnNotes needs to be spelled with capital Q when searching.
- syncthing runs as its own or root user if you run it as a service, I just added the syncthing command to my .xinitrc to start as my user when I enter the desktop environment.
Then I needed to be able to take screenshots, easiest was to just use scrot + xclip, and then bind the keys I wanted to this command in the SXWM config
scrot -s - | xclip -selection clipboard -t image/png -i The battery life seems to be great, with my ThinkPad lasting 3+ hours (doing nothing). I plan to test this more thouroughy and even compare between Linux+OpenBSD.
It’s very usable off the bat
Since I have been using Arch with Hyprland, I’ve gotten used to having a basic application launcher, not really using a waybar for much other than peeping at my ram and seeing which workspace I am in. So this is actually quite refreshing and even feels familiar.
Additional Notes
I tried to close the lid of my laptop and noticed FreeBSD didn’t turn off, I forgot how I had to even setup some sleep/hybernate on Arch so that is what I need to resolve next.