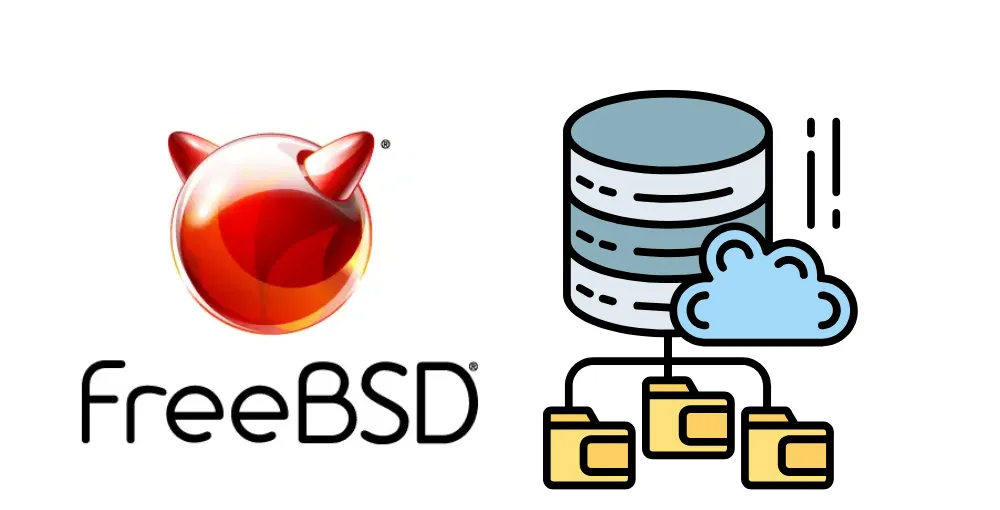
Building My Own Data Warehouse on FreeBSD
For a while now I have wanted to deploy a server with a BSD operating system. I also wanted to learn more about secure deployment of these systems, utilizing jails, etc.
Something that I will never get tired of are data projects. I love analyzing big datasets, setting up ETL processes, and then having that data accessible for me later.
Some notable examples are:
- NYC OpenData
- Hackernews data sources
- Stolen credentials datasets
But whenever I spin up a new data project, the most frustrating part is always setting up a database. So, now, instead of setting up a new database per project, I will be creating my own data warehouse. This way I can utilize it for all my projects, learn more about the process, monitor and upkeep it myself — and learn how to do so in FreeBSD!
Hardware
Just like all things, we must start off with buying something. My preferred hosting provider is Hetzner, it’s like my second home.
Since I wanted a good deal, I went to their server auctions and found a nice machine with:
- Intel Xeon E3-1275V6
- 2x M.2 NVMe 512 GB SSDs (1 TB total — not the most but should be OK for now)
- 64 GB of ECC memory
- 1 Gbps NIC
Now in reality I should run this machine on RAID 1 just in case the hardware fails, which leaves me at only 512 GB for data. Which honestly is enough for now — if I need more I’ll upgrade. When I was dealing with stolen credentials, that easily hit over a TB. But this will be for smaller data projects so I don’t think it will be an issue.
Why FreeBSD?
While I wait for Hetzner to provision my server, let’s talk about FreeBSD. BSDs are based on Unix like Linux, but they diverged in the 90s. While Linux (GNU+Linux) is really just the kernel with GNU user tools on top of it, BSDs are developed by a single team start to finish. This has led to what some people call increased security, more efficiency, and just a more beautiful operating system in general.
Installation
To be honest it was much easier to set up than I thought. The hard part was really just getting the image onto the server, but thanks to depenguin it was a breeze.
When you first get one of these auction servers, they boot in rescue mode which lets you format drives, interact with the file system, and use their install image utility to install an operating system. Unfortunately FreeBSD was removed from the list about 4 years ago, which a few people were complaining about — but someone posted depenguin in the comments so I followed that.
I won’t share my personal configuration, just go to https://depenguin.me to get instructions.
One thing to note: while in recovery mode my disks were labeled nvme0n1 and nvme1n1, but inside the QEMU-based mfsBSD VM they showed up as ada0 and ada1 — be sure to double check. Then just run ./depenguin_bsdinstall.sh and it handles the install for you!
Initial Configuration
After the install finished and I was able to SSH in, I got started on configuring the system.
Started with a system update:
sudo freebsd-update --not-running-from-cron fetch
sudo freebsd-update --not-running-from-cron install
Then installed PostgreSQL 17, my DB of choice:
sudo pkg install -y postgresql17-server
sudo sysrc postgresql_enable=YES
sudo /usr/local/etc/rc.d/postgresql initdb
sudo service postgresql start
sudo -u postgres psql -c "ALTER USER postgres PASSWORD 'your_password';"
Firewall Setup
Then I did one of the most important things: setting up the firewall to only allow connections through SSH. We’ll tunnel to connect to PostgreSQL.
I recommend checking your network interface name before setting this up — I used em0 without checking and blocked myself out of my own system.
PF Firewall (SSH only)
The depenguin installer renames the network interface from em0 to untrusted.
/etc/pf.conf:
ext_if = "untrusted"
set skip on lo
block in all
pass out all
pass in on $ext_if proto tcp from any to any port 22
I had to go back into rescue mode, import the ZFS pool, and fix the config — but the above is what I ended up using.
That’s It
And there we go! All I had to do from there was open an SSH tunnel and connect.
Super excited for the fun things I’ll be able to do with this. Particularly building my own tool that will let me sync OpenNYC data into it automatically.